LAURA DICKEY
PROFESSIONAL MAKE-UP PROJECT
FLOCKING
16/4/15
WAYNE
DEMO:
FLOCKING RESEARCH
 Silicone face prior to flocking. |  |
|---|---|
 Brush on pros aide over the required area and flock whilst still wet to allow the current to pass through. |  Electrostatic flocking gun and machine. Remove the end and fill with flocking. Attach the crocodile clip onto the silicone mould, but avoid clipping in a visible area as it will leave a patch that is unflocked. To prevent this build a ground around your mould and attach the clip to the grounding. |
 Turn on flocking gun and hold over the mould. Flocking will shoot out of the gun over the pros aide area. |  |
 Example of flocking working on human skin. |
DEBORAH GALVEZ:


 It |  |
|---|---|
 |  |
 |  |
 |  |
 |  |
 |  |
FUR TRANSFER, ELECTROSTATIC FLOCKING AND HAIR PUNCHING WITH JEAN ANDERSON. (n.d.). [DVD] USA: STAN WINSTON SCHOOL.
NOTES FROM DVD:
- It is important to study the fur direction
- Wear suitable protective clothing such as aprons, paper suits, masks and goggles
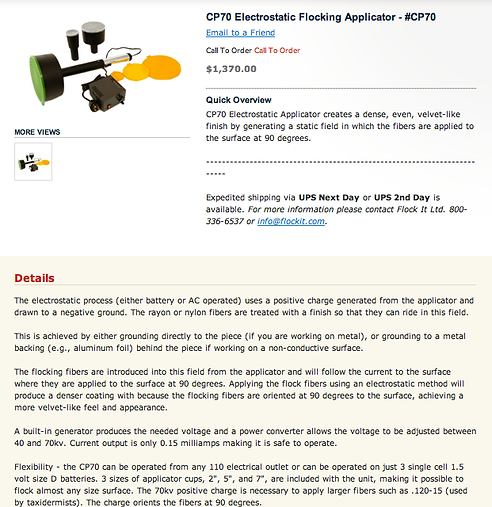
- CP70 electrostatic flocking gun
- If the gun starts to flash intermitadely it can cause electric shocks
- You can make your own flocking by shaving a cow hide (winter coat)
4. Nylon synthetic fibres used for flocking - apply lighter colour first
NOTE: sculpt your character smaller as the fur adds bulk to the finished creation
Process:
1. Apply an even coat of cream prosaide to the face - cream bonds better than liquid
2. Use a small brush to apply around the eyes
3. Apply another even liberal coat of prosaide and spot check
4. Turn off the gun when loading the flock. Gun comes with different size baskets.
5. Flocking the first colour - aim for inside ear, mouth and neck. Important to pre paint character before flocking.
6. Flocking the second colour - mount character on a 'lazy susan' (spinning stand). Begin to groom the flocked fur
7. Finish with darker shades ie, chocolate brown and black
8. The secret Galvez touch - chop tufts of Coyote har and glue inside the ear, press into prosaide.








SCHUSTER:
SCICOFIL:
SUEDE-TEX:
THE MOUSE MARKET:
WAR HORSE - NEILL GORTON:
WAR HORSE AND KING ARTHUR - BILL TURPIN:
BILL TURPIN:
SCHUSTER. (2011). flocking works. Available from: http://www.schuster-beflockung.de/index.php?page=pages/html/en/beflockungstechnik/funktionsweise.html [Accessed: 19 March 2015]
SCICOFIL. (2015). flock and flocking. [online]. Available from: http://www.swicofil.com/flock.html [Accessed: 19 March 2015]
FLOCKIT. (2015). suede-tex enhanced. [online]. Available from: http://www.flockit.com/index.php/enhanced-rayon-mini-flocker-kit-flock-fibers.html [Accessed: 19 March 2015]
Tipton, M. (2013). Learning how to flock. [online]. Available from: https://themousemarket.wordpress.com/2013/04/12/learning-how-to-flock/ [Accessed: 19 March 2015]
CONTEXTUAL MAKE-UP EXAMPLES:
SOLON, O. (2012). Inside the animatronic 'War Horse'. [online]. Available from: http://www.wired.co.uk/news/archive/2012-01/24/war-horse-animatronic-puppet[Accessed: 19 March 2015]
Chris Clarke (2012). Animatronic 'Joey' from "War Horse'. [online]. Available from: https://www.youtube.com/watch?v=Pnw7X-Etp5Q [Accessed: 19 March 2015]
Here, it is interesting to see how effective the flocking technique is in representing real fur textures. If it was not for the appearance of animatronics at the end of the clip I would think that this was a real horse.
Turpin, B. (2015). BILL TURPIN PROSTHETICS. Available from: http://www.billturpin.com/sculpt/sculpt-06.html. [Accessed: 18 March 2015]
This work by Bill Turpin showcases his characters in the early sculpting stages and then the final outcome which includes flocking. Here the clay sculpt would have been moulded and cast in foam (due to its lightweight qualities which would be best suited for a head mask). They would have also been pre-painted to add depth to the characters and then flocked with the lightest colours first, and then finished with the darkest. On close inspection, the pig character appears to have longer hairs sprouting out of the ears and around the eyes - this would have been achieved by simply emptying the electrostatic flocking gun and then adding longer lengths of flocking fibres.
Turpin, B. (2015). BILL TURPIN PROSTHETICS. Available from: http://www.billturpin.com/sculpt/sculpt-06.html. [Accessed: 18 March 2015]
Here it is interesting to see detailed behind the scenes images of the processes involved in flocking the horses. In the middle images you can see the application of the adhesive prior to flocking which is evidenced by the shiny appearance on the horses. It is also important to pre-paint the horses before flocking in order to create a depth of colour. In the above final image and and first image you can see the variations in colour created by flocking. For this, the lighter colour would have been flocked first, finishing with the darker colours such as black.
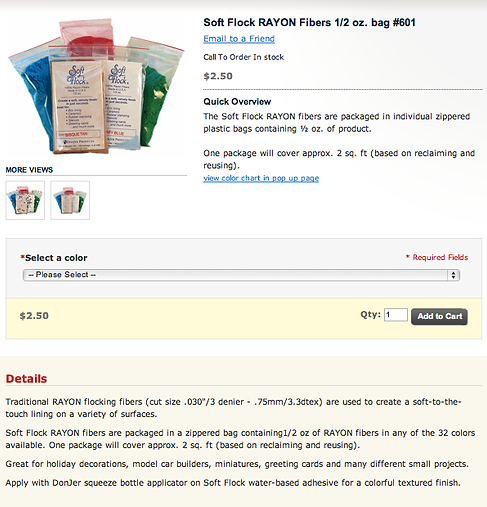
Mini flocker - low tech and simple method which involves filling the bottom half of the cannister with flocking and then carefully pressing on the other half.
The length of this flock is .75mm so it would be too short to create the appearance of fur. More suited for decorating miniatures and greeting cards.
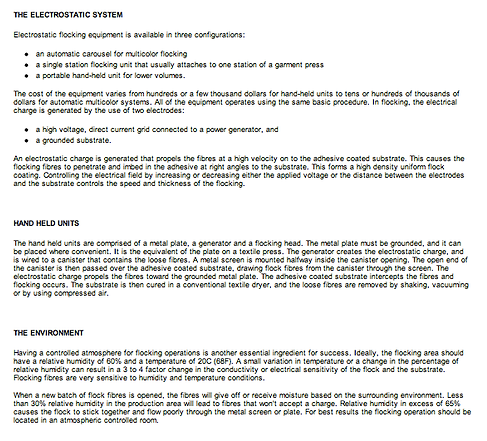
Using an electrostatic flocking machine produces a denser coverage of flocking.
The mini flocker is clearly much cheaper in price is would be suitable for anyone on a budget. However, it would work better to cover smaller areas.
Prices of the electrostatic system varies from £100-£1000's. Hand held units are used when a lower volume of flocking is required (see flocking demo).
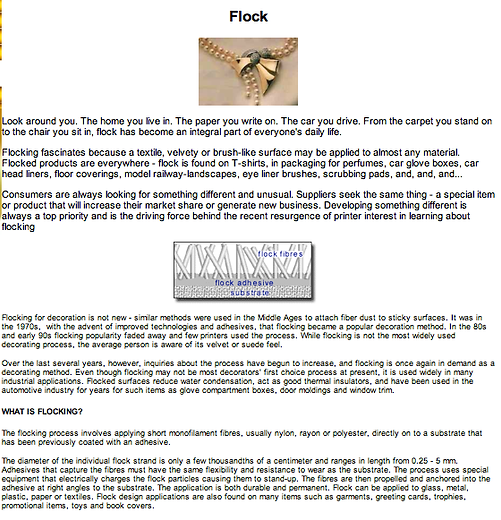
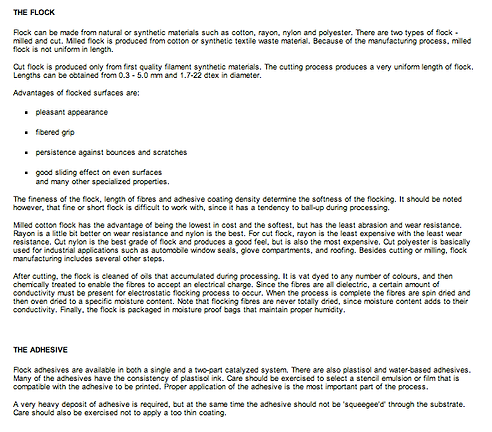
Flock itself is made from natural and synthetic materials, including cotton, nylon and polyester.
Cut flock advantage:
- uniformed length
Cut flock disadvantage:
- more difficult to work with
Miled cotton flock advantage:
- lower in cost
- soft
Miled cotton flock disadvantage:
- least abrasion and wear resistance
Best grad of flock is cut nylon, but also most expensive.
Flock is chemically treated to enable the fibres to accept an electrical charge.
Flocking was used in the middle ages to attach fibre to sticky surfaces. In the 1970's it was popular as a decoration method.
Flocking can vary in length from 0.25-5mm.
The application is durable and permanent so there is no room for errors.
Various methods of flocking:
- Electrostatic (most viable)
- Gravity
- Spraying (using an air compressor)
- Transfers
- Vibration
This articile states that any material can be flocked 'except materials containing silicone' - this is incorrect as I have witnessed first hand a silicone mould being flocked.
It is always best to do a test flocking before flocking the real thing.
Purposes of flocking:
- creates a decorative or functional surface
- can provide insulation
- provides a sealing surface against glass
- provides an absorbent surface for gloves or paint rollers
- provides sound insulation against rattling or noise
Although this article includes some false information with regards to silicone flocking, it does explain how flocking works, the process, scientific understanding and the advantages to flocking.
The glue can be brushed, sprayed, rolled, dipped or even screen printed on the required area. Must be applied in an even thickness.
General process:
1. Cleanse area to remove dirt
2. Apply adhesive
3. Apply flock
4. Allow adhesive to dry
5. Remove excess flock fibres by means of suction, ie blowing, brushing, washing
Scientific understanding:
The flock develops a charge through ionisation and travels to the opposite pole along the field lines. The procedure repears itself until the fibre finds a surface in the adhesive.
ADDITIONAL NOTES ON FLOCKING:
- Flocking comes in all sorts of colours and various lengths
- To flock silicone you need to use a silicone adhesive
- Always remember to put lids on flocking after use to prevent spillages
- You can blow the hair in the direction you want them to lay
- You tape over the end of the flocking gun to gain more control over it
- Not recommenend for use on face as fine flocking stands could go in eyes, nose, ears and mouth causing discomfort for model
- Hairs can be punched over the flocking for more realistic effects
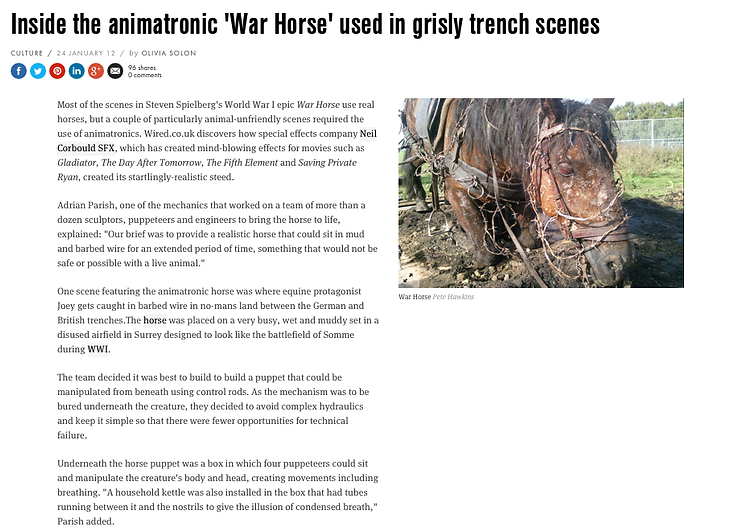
It is important to ensure all the object you are flocking has an even layer of ahesive all over to prevent patches appearing. As you can see here - there are a few patchs where the adhesive was not applied onto.
The horses in the 2011 film 'War Horse' were flocked as part of the finishing processes. In this case, polyurethane glue was use which is a tough and durable adhesive. Once the hair were flocked, an airbrush was used to blow the hair into the desired hair direction which makes the hair look more naturalistic. It was important to do this prior to the glue setting so that the hairs were able to move. Longer hair would have been flocked around the mouth, ears and brows to reflect the characteristics of a horse. The eyelashes would have then been hand laid as there require a more precise positioning.