LAURA DICKEY
PROFESSIONAL MAKE-UP PROJECT
LIFECASTING MY MODEL
PROCESS:















FINAL OUTCOME:
EVALUATION:
WHAT WENT WELL AND HOW DID I ACHIEVE THIS?
-
I wrote a list of all the tools and materials I would require for a full head cast to ensure the process was organised and ran more smoothly.
-
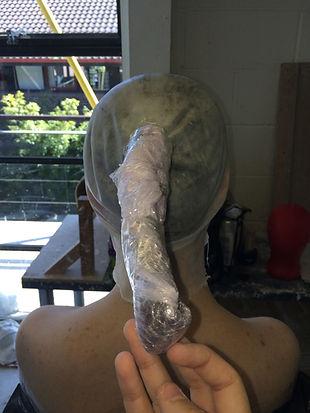
The hair was gelled flat to the head in a high pony tail to ensure it would represent the measurements of the models head more accurately.
-
The bald cap fit snug around the models head to ensure it protected the models hair.
-
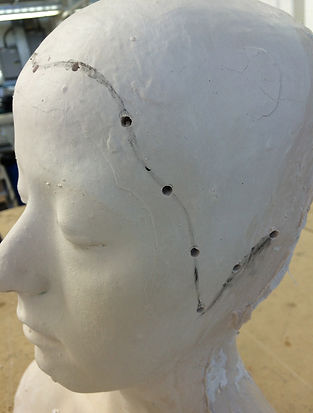
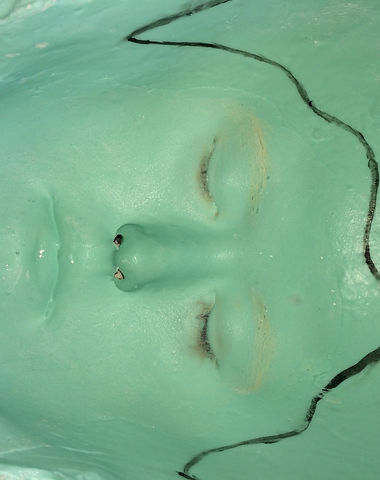
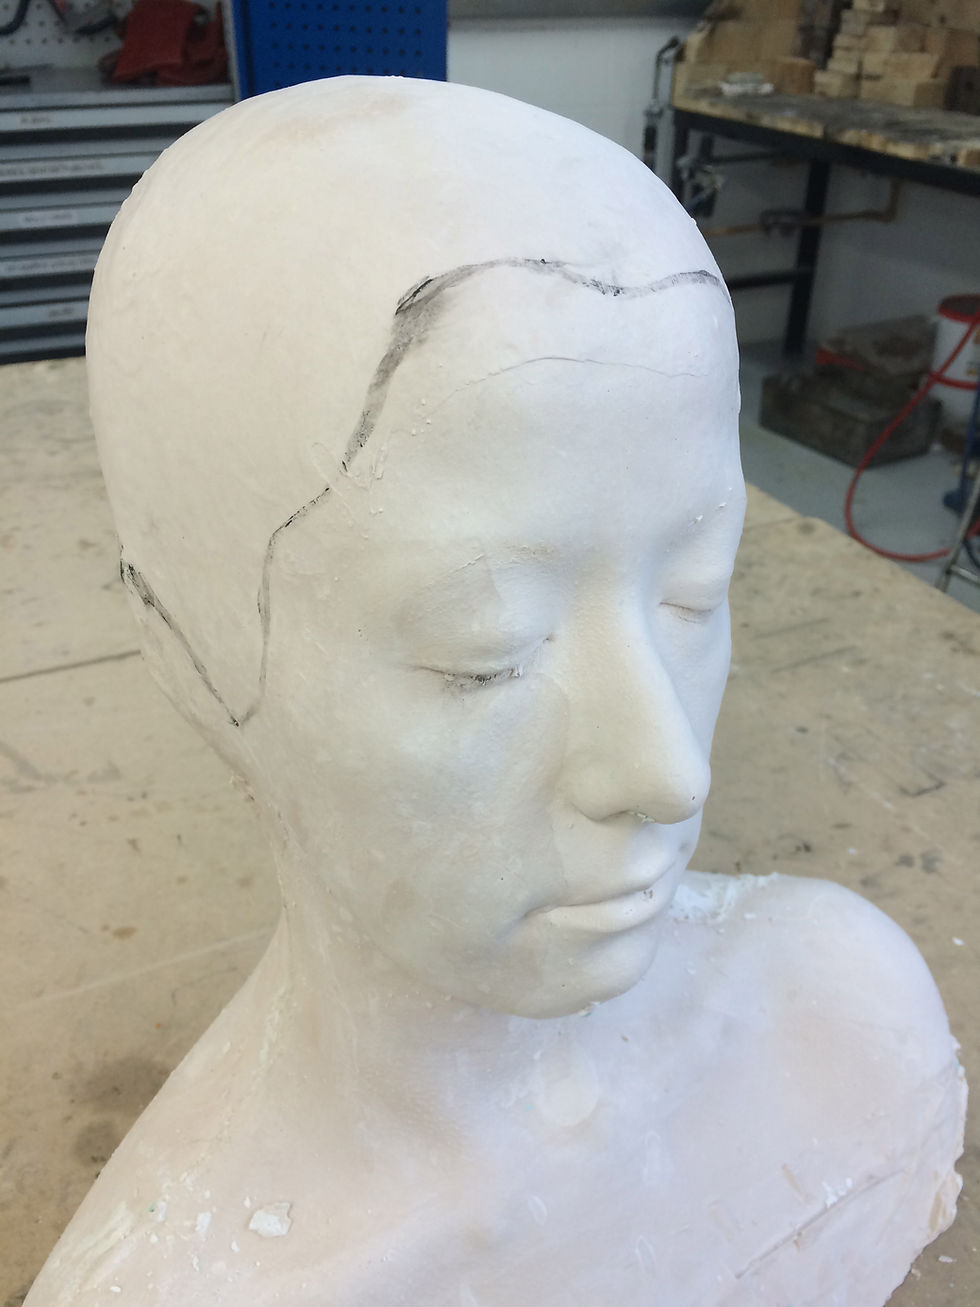
The hairline was marked neatly using the water-based paint and accurately followed the models natural hairline to ensure I could sculpt to the correct point. I then drilled in holes to mark the hairline on the plaster cast - this way I could still see the hairline after the paint wore off.
-
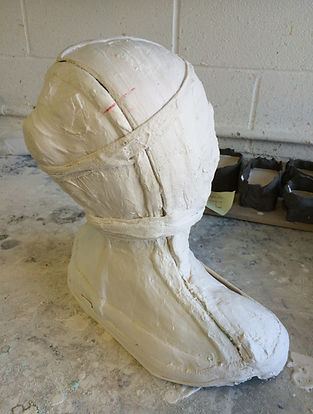
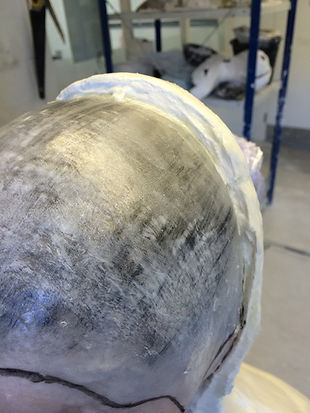
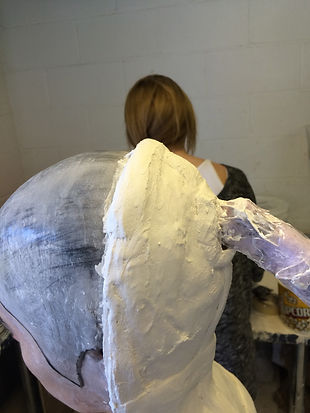
The leading edge was a good thickness, as well as neat and smooth all of the way around to ensure it was strong enough. The plaster bandages and ribbons on bandage were also applied neatly and smooth to ensure the lifecast was visually pleasing and looked more professional.
-
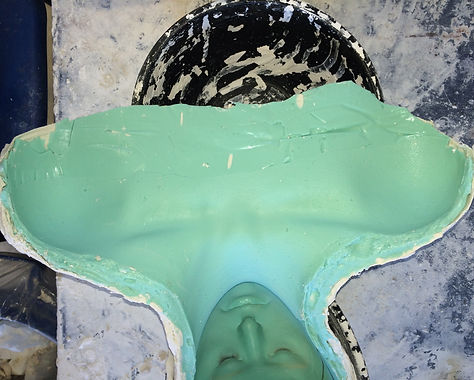
The alginate was a smooth and thick consistency which allowed to be applied evenly over the models face. I managed my hand positioning well to ensure the process ran more smoothly by using one hand to scoop up the alginate from the bowl and my other to smooth it onto my models face.
-
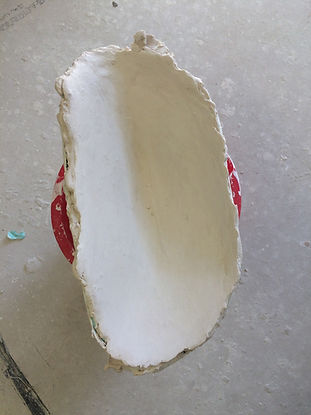
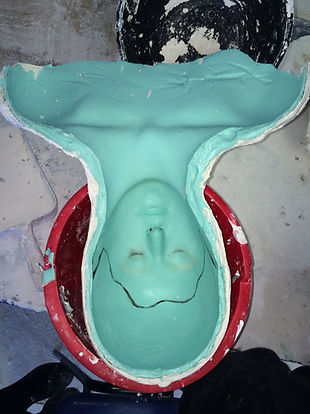
The front and back plaster shells 'butt' up well with no obvious gaps or holes, which suggests the plaster was positioned correctly.
-
When the lifecast was removed there were no airbubble which implies that the alginate was applied correctly. By scooping the alginate into the inner corner eyes and then outwards, I was able to prevent air bubbles.
-
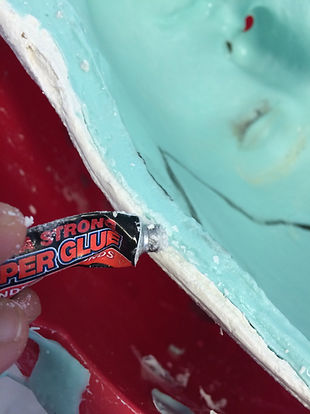
I superglued the nostrils and outer edge of the alginate to the plaster bandage to ensure it would not move and distort the life cast. This would have also been achieved by laying on cottton fuzz over the wet alginate to create a bond for the plaster bandage to stick too.
-
The front and back of the life fit together well with no gaps between the seamline.
-
I filled the negative life cast with plaster by at first pasting in a detail layer which would prevent any airbubbles appearing in the cast. I also used burlap to lap into the cast to build up the strength.
-
The final plaster life cast was successfull with no airbubbles or signs of cracking. I achieved this by pouring in the plaster carefully and mixing the plaster to a smooth milkshake consistency.
-
The final life cast also cleaned out well. I used a rasp to reduce the size of the head and consistently checked the head measurements until it measured to the correct size. I used small dental tools to chip away areas around the mouth, nostrils and eyes. Finally, I smoothed over any rough areas with sand paper and using a wet sponge to further refine the surface.
WHAT DIDN'T GO WELL AND HOW DID I OVERCOME THIS/WHAT DO I NEED TO CONSIDER FOR NEXT TIME?
-
The edge of the bald cap was too thick to blend, meaning that there would be a ridge on the plaster life cast. This can be easily resolved by using sanding paper to smooth the surface.
-
I could have filled up the cast with less plaster and used more burlap to reduce the weight of the cast and make it easier to transport around.
TOOLS & MATERIALS:
- CAP PLASTIC BALD CAP
- NIVEA
- HAIRBRUSH, CLIPS, HAIR GEL, BOBBLE
- WATER BASED PAINT AND BRUSH
- PLASTER BANDAGES
- MIXING BOWLS
- SLOW-SET ALGINATE
- SUPERGLUE
- PLASTER
- WATER
HEALTH & SAFETY:
- IT IS IMPORTANT TO HAVE ATLEAST 4 PEOPLE HELPING OUT WHEN DOING A FULL HEAD CAST:
1 ALWAYS WATCHING THE NOSTRILS, 2 APPLYING THE ALGINATE AND BANDAGES, 1 COLLECTING MATERIALS
- BRIEF THE MODEL PRIOR TO LIFECASTING TO TELL THEM ABOUT THE PROCESS
- ALWAYS ASK THE MODEL IF THEY ARE OK AND KEEP AN EYE ON THEIR BODY LANGUAGE, TELL THE MODEL TO USE HAND SIGNALS TO INDICATE HOW THEY ARE, E.G. THUMBS UP = FINE, THUMBS DOWN = TAKE IT OFF
- TELL THE MODEL WHAT YOU ARE DOING AS YOU GO ALONG TO ENSURE THEY FEEL MORE COMFORTABLE