LAURA DICKEY
PROFESSIONAL MAKE-UP PROJECT
MAKING THE CORES
TOOLS & MATERIALS:
- PLASTER LIFE CAST
- MDF BOARD
- WED CLAY
- PVA MOULD RELEASE
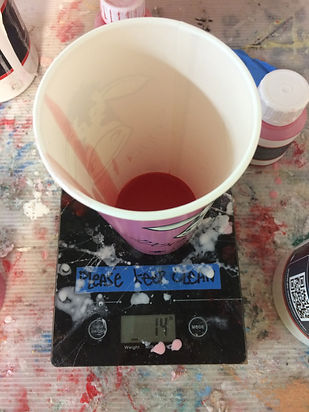
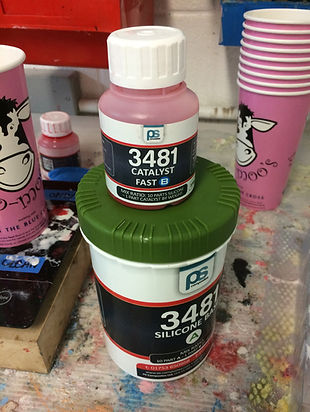
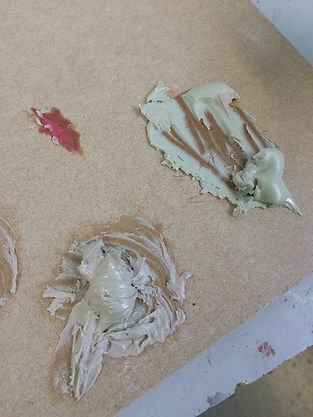
- SILICONE 3481 AND CATALYST
- SILICONE KEYS AND CHEESECLOTH
- RESIN
- GEL COAT
- CATALYST
- FIBREGLASS MATTING
- POLYESTER WHITE PIGMENT
- DRILL, SCREWS AND BOLT
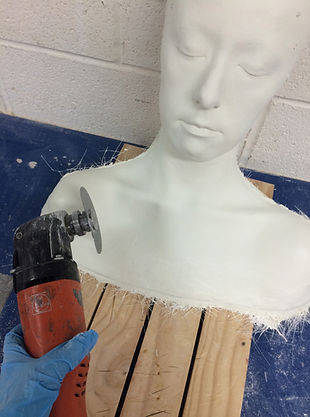
- VIBRO-SAW
- SANDING PAPER

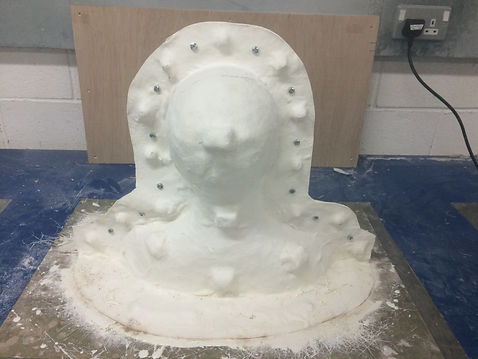
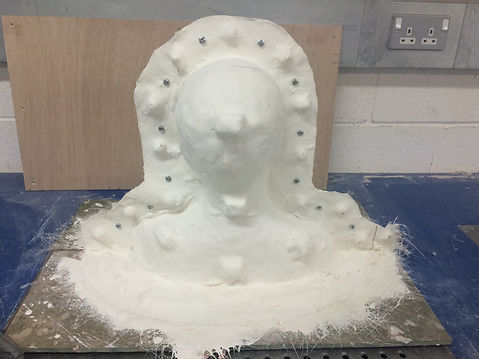
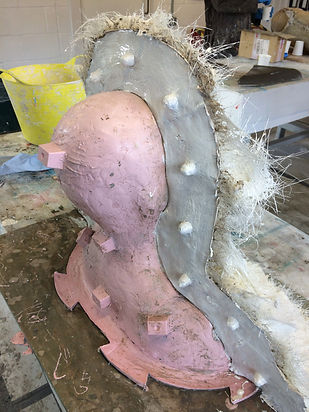
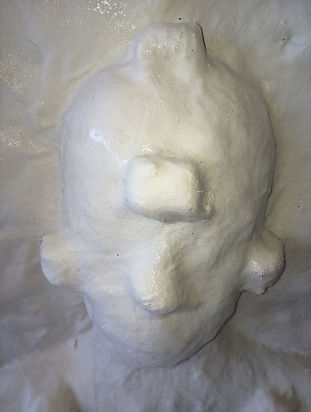
Mount lifecast photographed from various angles.
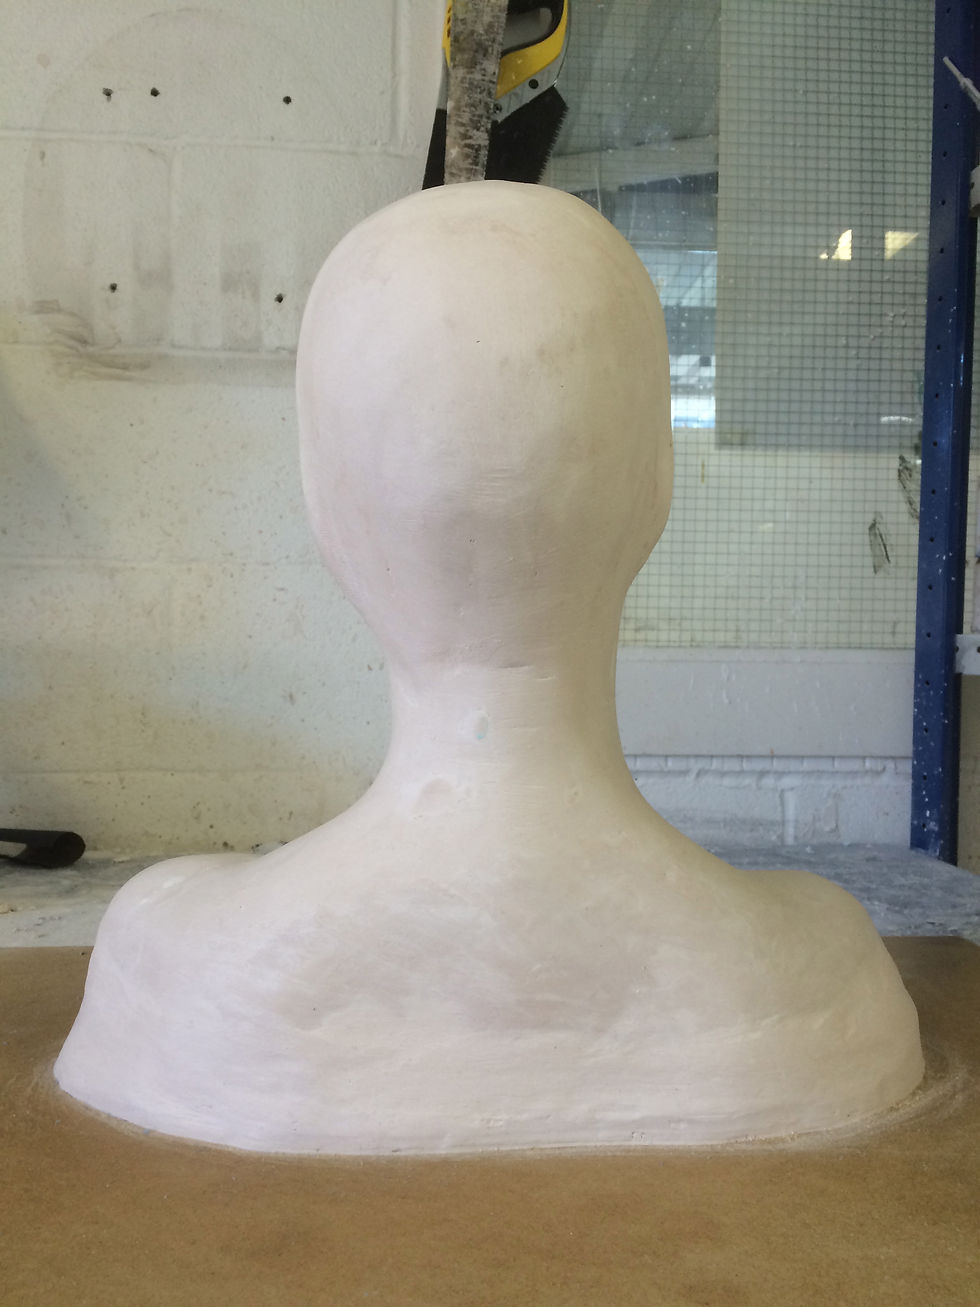
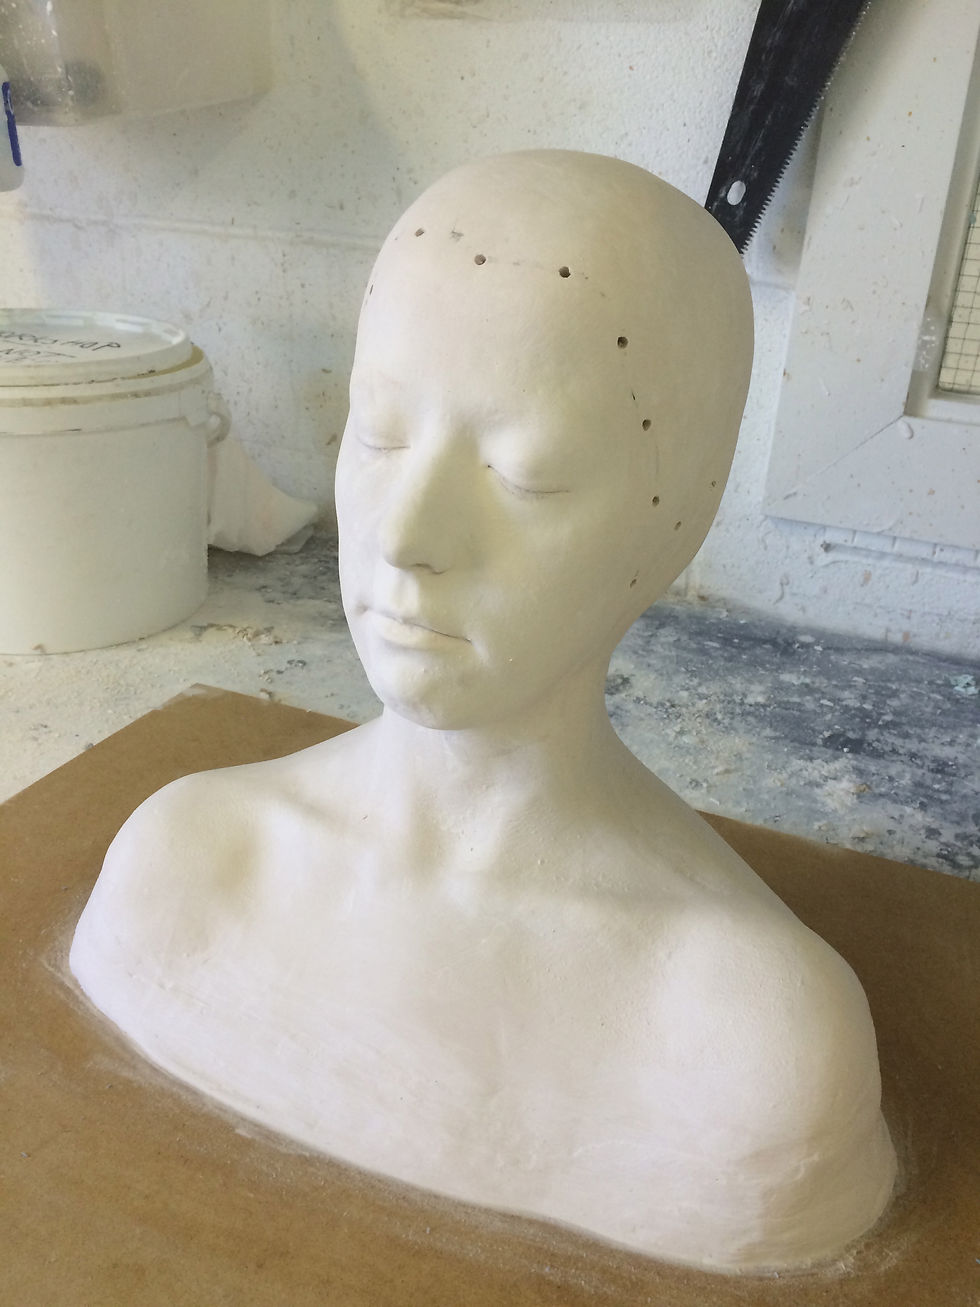

Mount lifecast photographed from various angles.
PROCESS:




















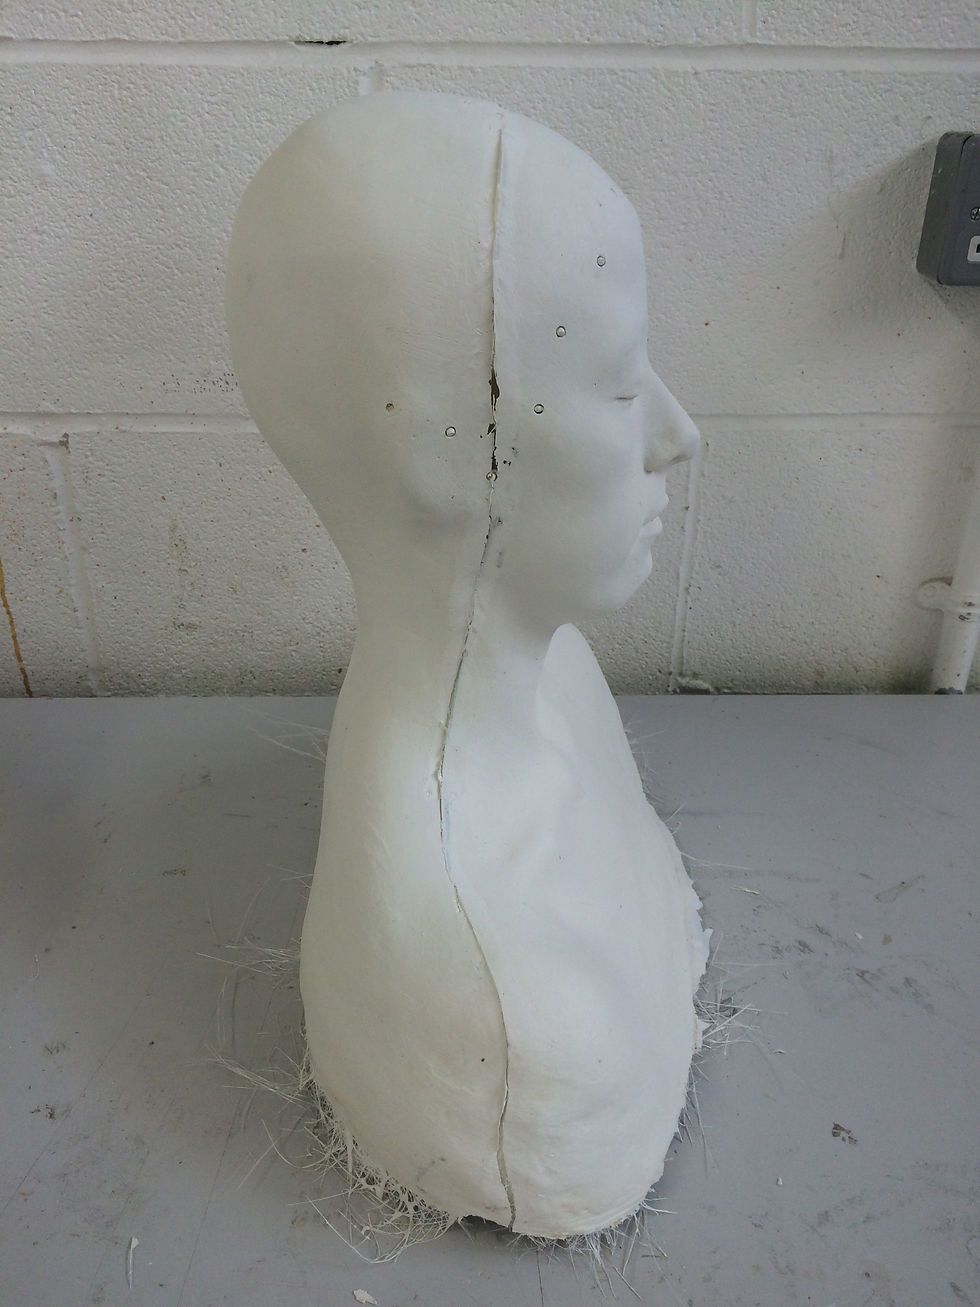
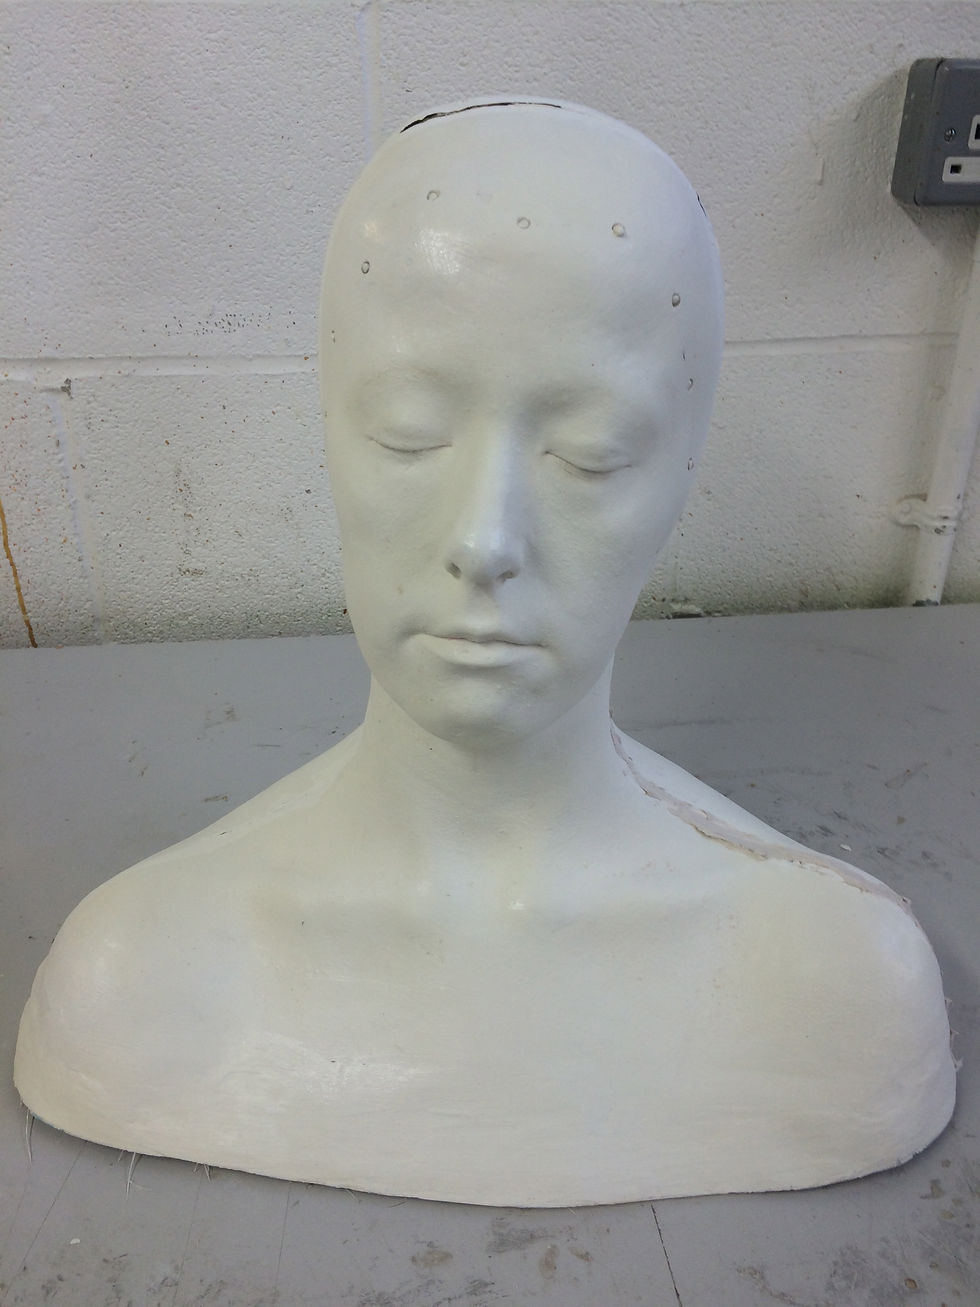


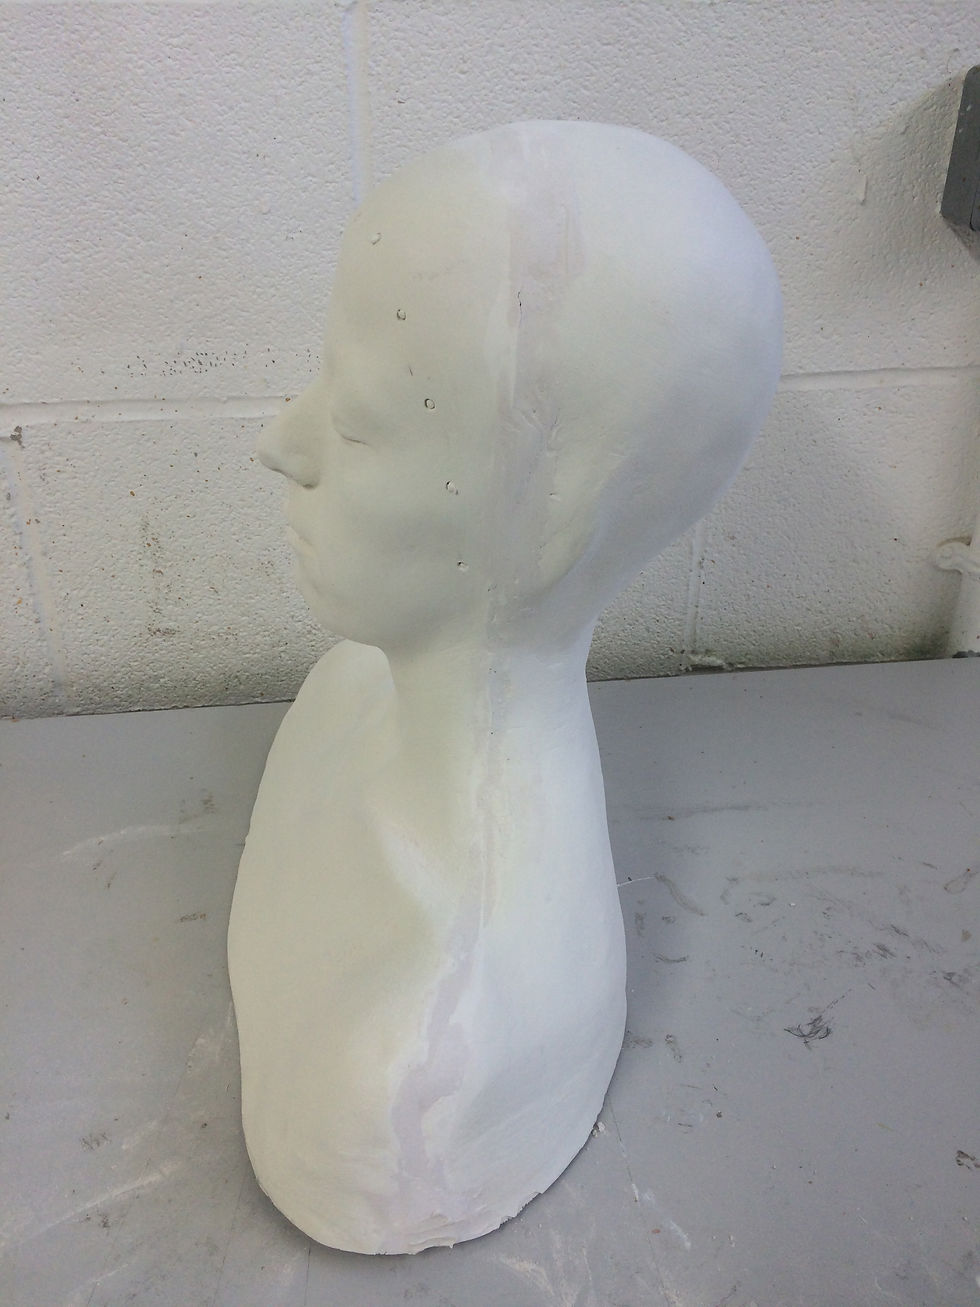


EVALUATION:
FINAL OUTCOME:
WHAT WENT WELL AND HOW DID I ACHIEVE THIS?
-
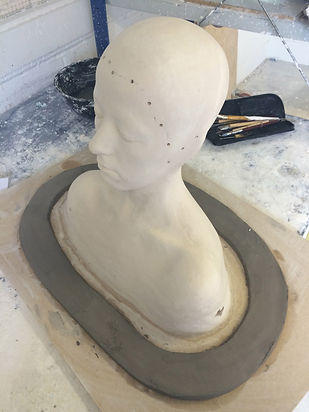
The lifecast was mounted well to the mdf board - I achieved this by mixing another batch of plaster and smoothing it onto the board and around the base of the lifecast to create a bond. I then smoothed this using a rasp and sanding paper to refine the surface.
-
The clay wall was neat and even in width and the clay keys were spaced even distance apart. I achieved this through accurate judgment of placement.
-
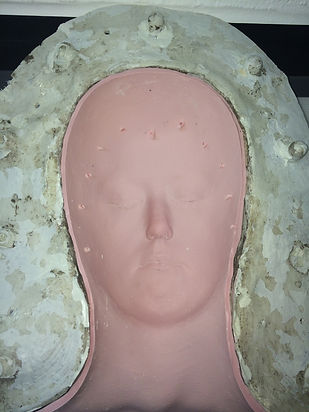
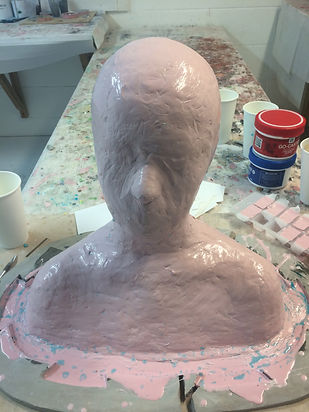
The first detail layer of the silicone was applied well and smoothly. I achieved this by simply pouring the silicone over the top of the lifecast and allowed it to drip down naturally.
-
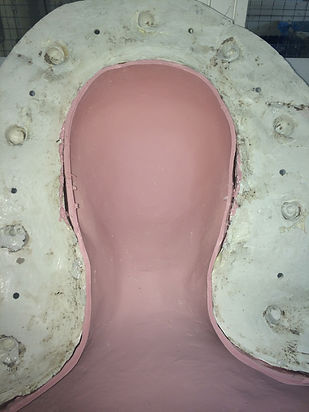
The overall silicone jacket was smooth in appearance, which I achieved by smoothing over foam soap.
-
The silicone keys were positioned an equal distance apart and the cheesecloth allowed them to adhere better to the silicone.
-
The clay wall was an even thickness, and the key holes were positioned an equal distance apart. I achieved this by using the end of a sculpting tool to create an even circle which appeared neat and proffessional.
-
By measuring out large batchs of resin and gel coat I was able to save time during the fibreglassing process.
-
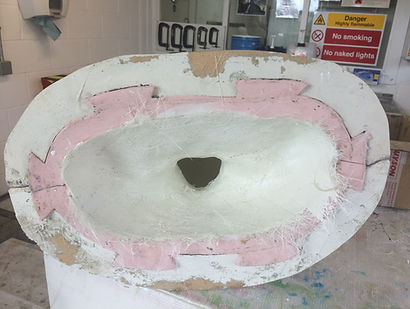
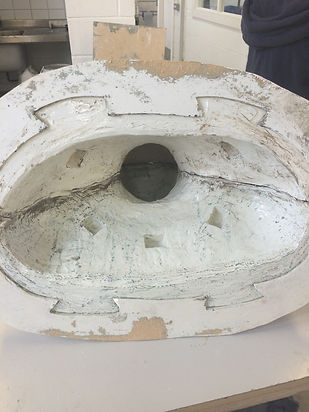
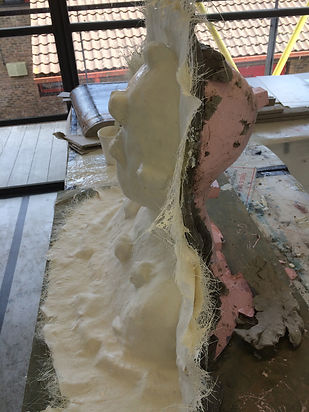
The fibreglass covered the mould well and sat neatly over the keys with no signs of airbubbles. I achieved this by pressing the matting into all gaps with a spatula.
-
The clay wall cleaned up better than expected by using soap and water. Because it was dried out it also peeled away easily from the mould, which made the fibreglassing process easier.
-
The back half of the mould applied much neater than the front as I was able to complete it whilst the resin was still wet.
-
I drilled plenty of holes which were also an equal distance around the mould to ensure the mould would fit together tightly creating a tighter seamline.
-
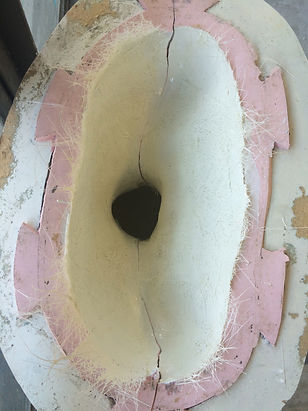
In general, the cores were smooth and a good thickness. I achieved this by applying the gel coat in a thick even coverage. I then applied 3-4 layers of matting to ensure a good thickness which was strong enough to sculpt onto.
WHAT DIDN'T GO WELL AND HOW DID I OVERCOME THIS/WHAT DO I NEED TO CONSIDER FOR NEXT TIME?
-
For the second layer of silicone jacket i forgot to mix in thixo which made the mixture very running and messy
-
I tried building a wall using strips of thin plastic but it would not stick into the silicone - this would have saved time cleaning out the wed clay wall as I could have fibreglassed on eachside.
-
Mid-way through fibreglassing the front half I had to leave the workshop as it was shut over lunch - when I came back the resin had set which made it difficult to get the following layers of fibreglass to adhere to it which created gaps around the outside edge which made the mould look untidy. To prevent this from happening in the future, I should manage my time more effectively - as a result, I should have started the process after lunch where I would of had more time.
-
When removing the mould some of the gel coat got stuck to each side and created chipped keys. It was also difficult to see the dividing line as the colour of either side were the same. To prevent this I should have applied more mould release and coloured each side a different colour to distinguish the dividing line.
-
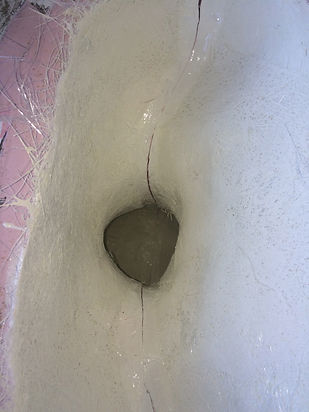
Unfortunately, I removed both sides of the fibreglass jacket before trimming a seamline into the silicone. This meant that I had to guess the seamline and the jacket would not fit back onto the silicone mould once it was removed due to undercuts. Because the seamline was not cut accurately this meant it did not fit snug as it should into the fibreglass jacket. As a result, when creating the fibreglass core the edge of the silicone was not fully supported so it came away from the side creating a distorted shape. As a consequence, the seamline was distorted so I had to patch this up with carbody filler when it was removed.
-
I found it difficult to fibreglass inside of the fibreglass core once it was bolted together due to the narrowness of the neck. To overcome this, I had to apply the matting in small sections and wear protective gloves and long sleeved clothing to prevent the fibreglass matting irritating my skin
MAKING CORES RESEARCH
METHODS & MATERIALS:

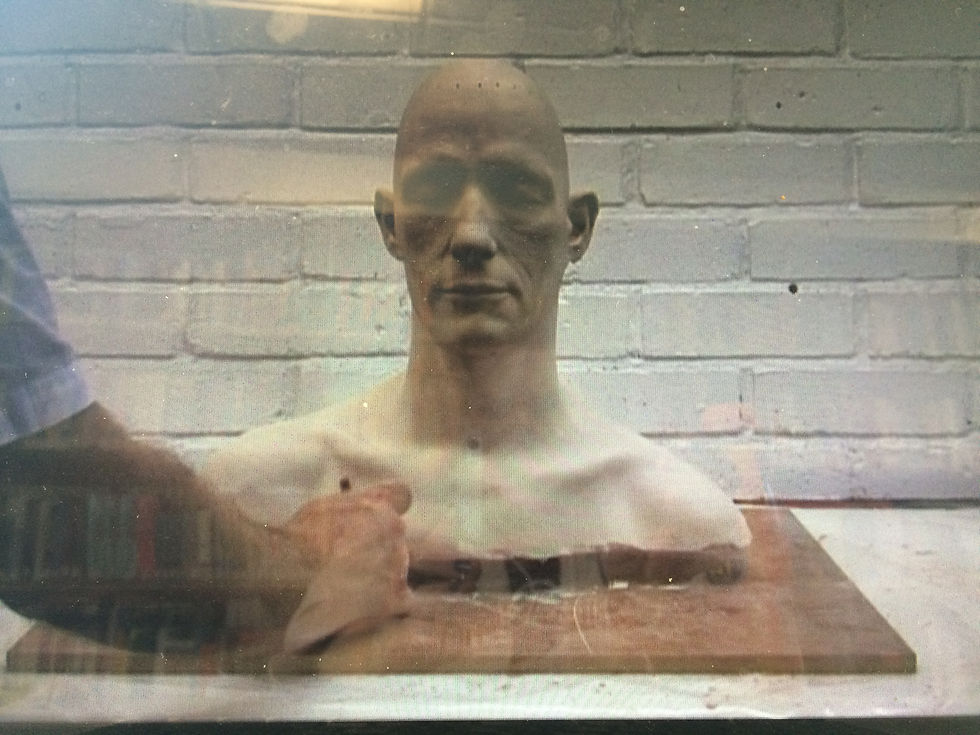


CREATING CHARACTER PROSTHETICS IN SILICONE - PART 1: PREPARING AND MOULDING THE LIFECAST. (n.d.). [DVD] NEIL GORTON PROSTHETIC STUDIO.
NOTES FROM DVD:
MASTER SILICONE NEGATIVE MOULD
- attach to mdf board (20mm thick)
- seal with shellac sealer
- drill holes into base and board
- build plaster around base
- seal cast with 6-7 layers of varnish to make it non pourous
- build wall and lay clay at 90 degree angle
- fill gaps with small wedges of clay
- protect front of face with damp towel
- plaster bandage over to hold
- make keys in clay using rounded tool, e.g. rubber end of pencil
- seal with clear laquer
- pva release agent onto lifecast and flange (2 layers)
- talc over to make matte and create better grip for gel coat
- fibreglass mould
-create dove tails around front of face
- apply thin layer of tinsil 7025 and thixo (thickening agent)
- flood fill over mould and then layer on with a brush
- smooth on a thick layer
- stand cast upright and add a final layer of silicone
- remove clay wall
- fibreglass
- trim edge with blade and leave to cure
- drill 6mm spaced holes around flange
- sand edge
- prise apart using a rubber mallett
- clean off any plaster with IPA and remove silicone jacket